Cookie Decorating with Edible Paint
Cookie decorating with edible paint adds pretty detail to sugar cookies. In just a few steps we will teach you how to paint flowers on iced sugar cookies. You don't have to be an artist to make these...really! It is easier than it looks if you follow our steps below.
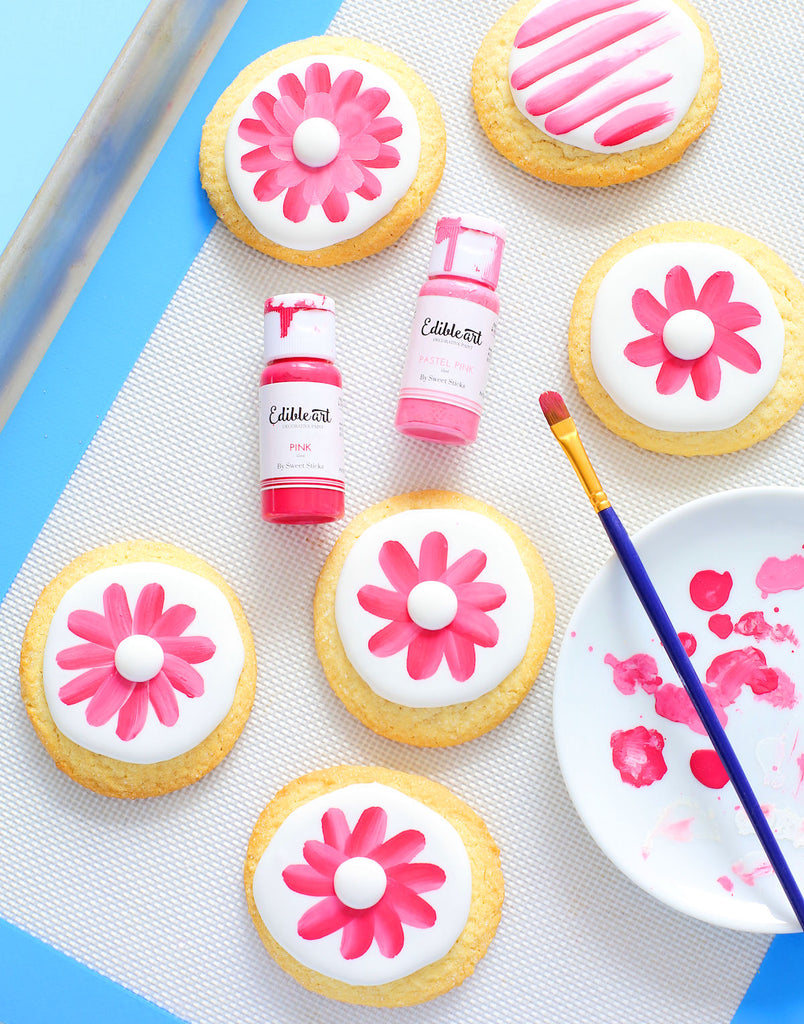
For this cookie decorating project you can make your favorite sugar cookie recipe or use store bought. For ease of time and to show you that you can create these pretty cookies in no time we used store bought round sugar cookies and cookie icing that provides the perfect canvas for painting!
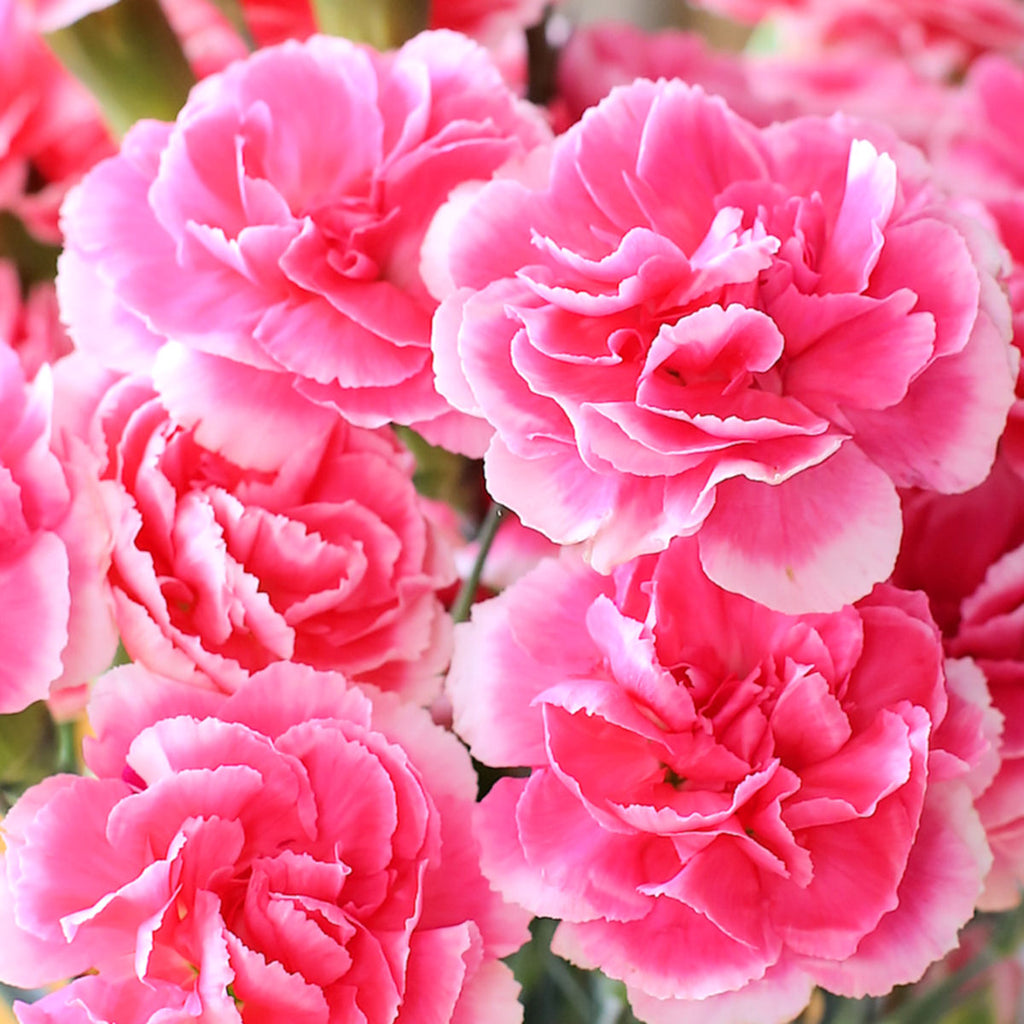
I didn't have to look far for inspiration for what to paint on the sugar cookies. These beautiful mini carnations from Easter where sitting on the table just screaming "paint me, paint me". So there you have it, pink flowers were what I decided to paint on the sugar cookies.

Cookie Decorating with Edible Paint - Supplies Needed:
round sugar cookies
cookie icing (we used Betty Crocker)
pastel pink edible art paint
pink edible art paint
small flat paint brush with rounded end
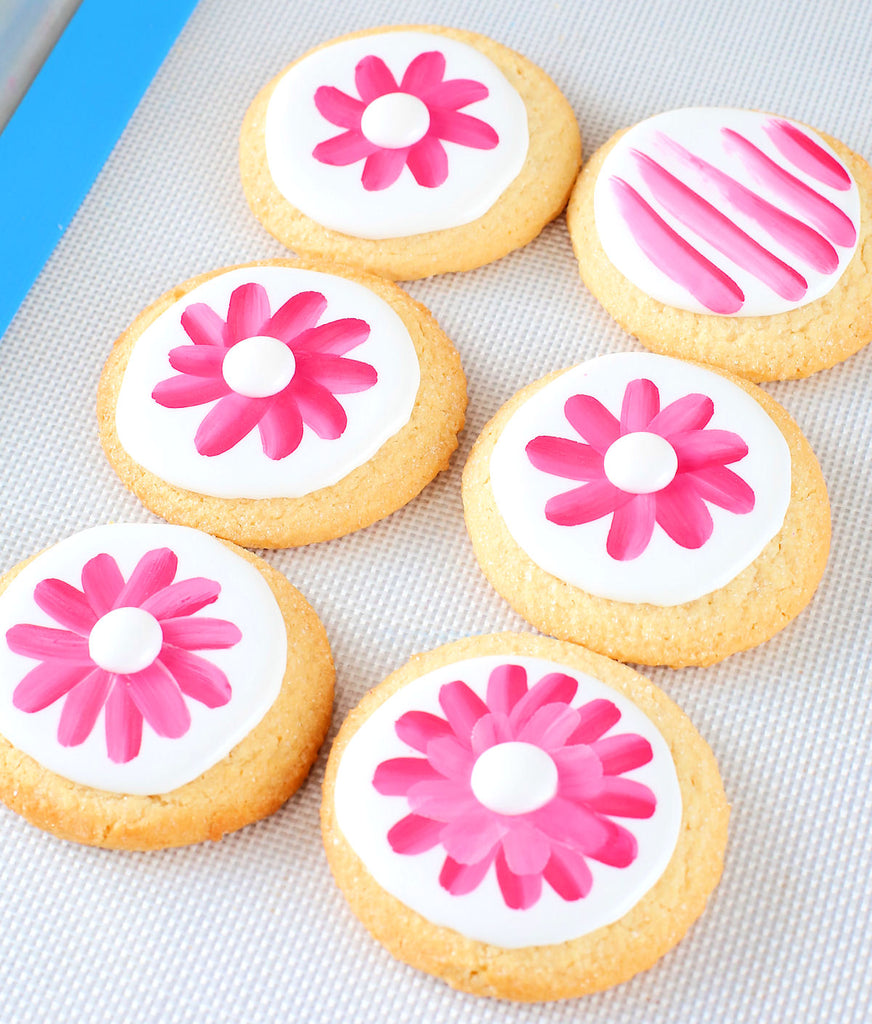
Cookie Decorating with Edible Paint Tutorial:
Step 1: Place your sugar cookies on a lined baking sheet. Using the store bought cookie icing, pipe a round of icing on the top of each cookie. Allow the icing to dry for a few hours. The icing needs to be set before you can paint on the surface. Once your icing is dry you are ready to paint! You can also use your favorite royal icing or Color Flow icing.
Step 2: Using the 2 pink shades of edible art paint we will replicate the two tone look of our inspiration carnations. Shake each of the paint bottles well. The pigment can separate so it is important to keep the cap closed on the paint and to shake the bottle frequently while using it. As these paints are alcohol based you want to work with a small amount of paint at a time since it dries fast. Squirt a small amount of each color paint onto a plate. Take your paint brush and dip half the brush in one paint and then the other part in the other color paint. Having both paints on the brush at the same time created the two tone look to the petals. Paint a swipe for each petal on the cookie. Depending on how much paint you have on your brush you can do 1-2 petals before needing more paint. For best results wipe your brush down so it is clean before dipping back in the paint. That way the 2 pink colors will stay more separate and the petals will look variegated in color.
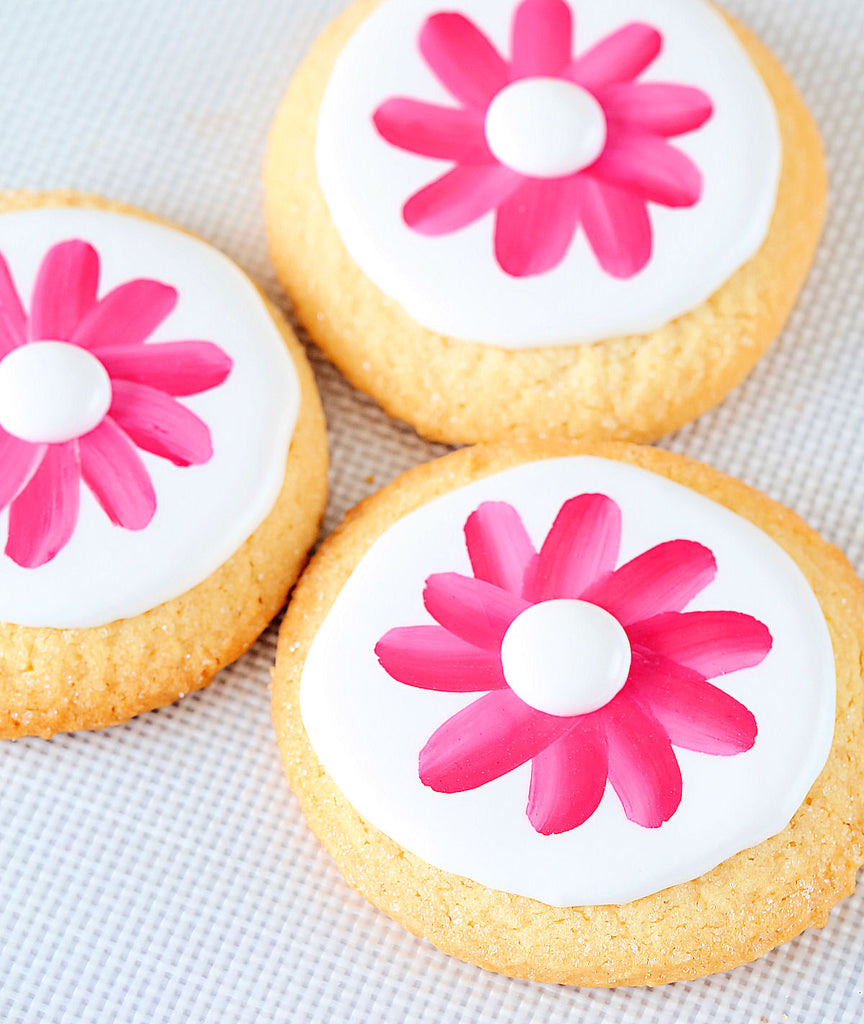
Step 3: Once you have painted all of the petals on your cookies you will notice the centers need some final decorating to make them look more like a flower. To finish the center and to create some dimension I added a small round of the cookie icing in the middle. I liked the white look so I left them as is, but you could paint the center too if you allow the icing to set for a couple hours to harden.
TIPS: Have a couple practice cookies for you to test the paint out on. Like any kind of painting you need to get a feel for the paint, the consistency and how much pressure to apply with the paint brush. With this particular cookie icing be careful not to press down to hard as you will dent the icing. This is not like royal icing and can stay moist under the hardened icing crust. Before I started painting the flowers I wanted to see how the 2 paints used on the brush together would look so I swiped the paint brush across a cookie a few times to see how it would look. You can see it in one of the photos above. It's pretty too! Also don't go back over something you just painted as it can remove the paint on your first layer. Allow the paint to dry before applying another coat or another color on top it.

Once your cookies are dry you can display them on a pretty platter or plate. These are perfect for spring don't you think?! They are easy to make but are sure to impress! We hope your try some cookie decorating with edible paints! If you have any questions please comment below and we will do our best to answer them. We have other posts in the works that will show some other great ways to use the new Edible Art Paint. If you try them before you know it you will be painting on all of your sweets!
Happy Spring!
Esther & Shauna
PS: If you enjoyed our post please share the love and pin it to save for later!
This post was written, styled and photographed by Esther of The Bakers Party Shop. If you share a photo from our post a link must be displayed back to this post and credit given to The Bakers Party Shop. All photos and content are copyright of The Bakers Party Shop - The Bakers Confections, All rights reserved 2016.

Leave a comment