Edible Bird's Nest Cake Topper
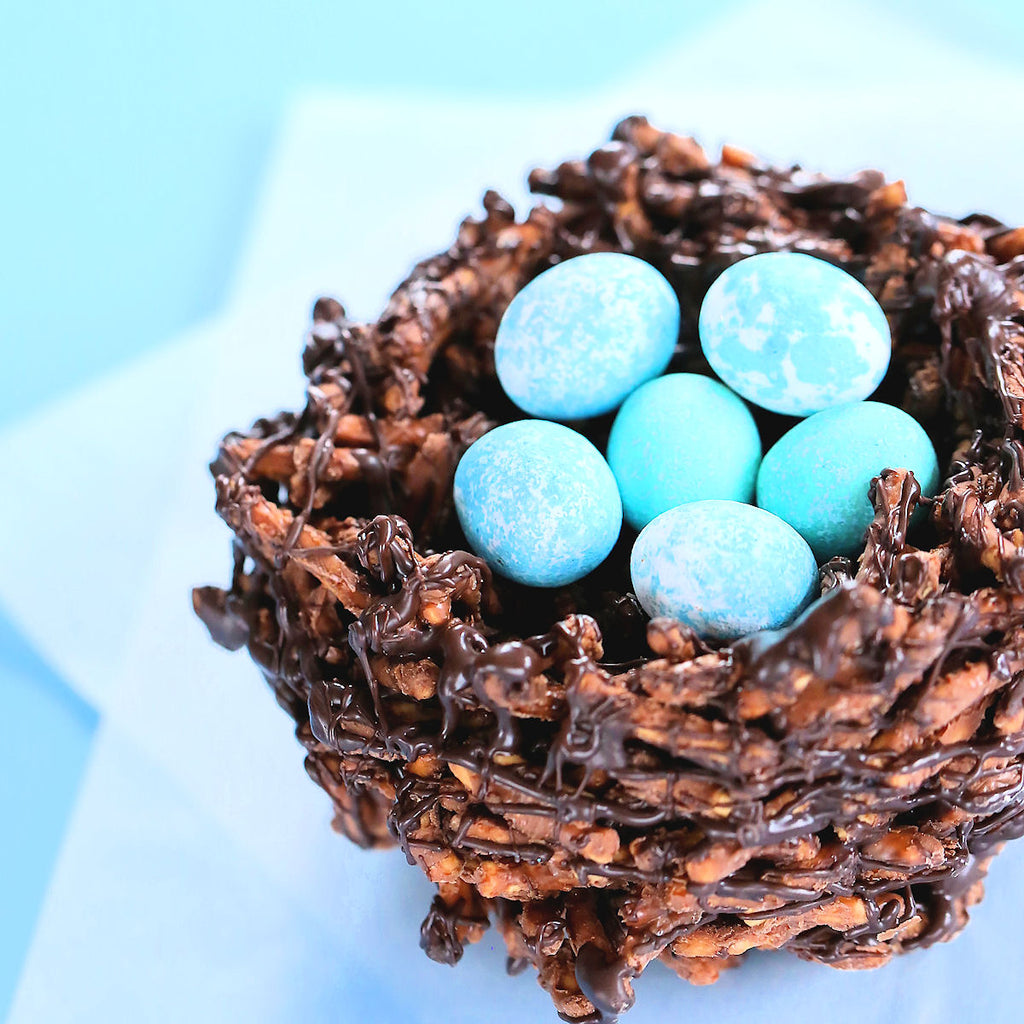
We're sharing a tutorial on how to make an edible bird's nest cake topper. It's perfect to top a spring garden bridal shower cake, woodland baby shower cake or birthday cake. This cake topper is fully edible and made with just a few fun items, including a secret hidden caramel layer. It is sure to make your guests swoon. Add candy eggs to the nest to create the perfect finishing touch!
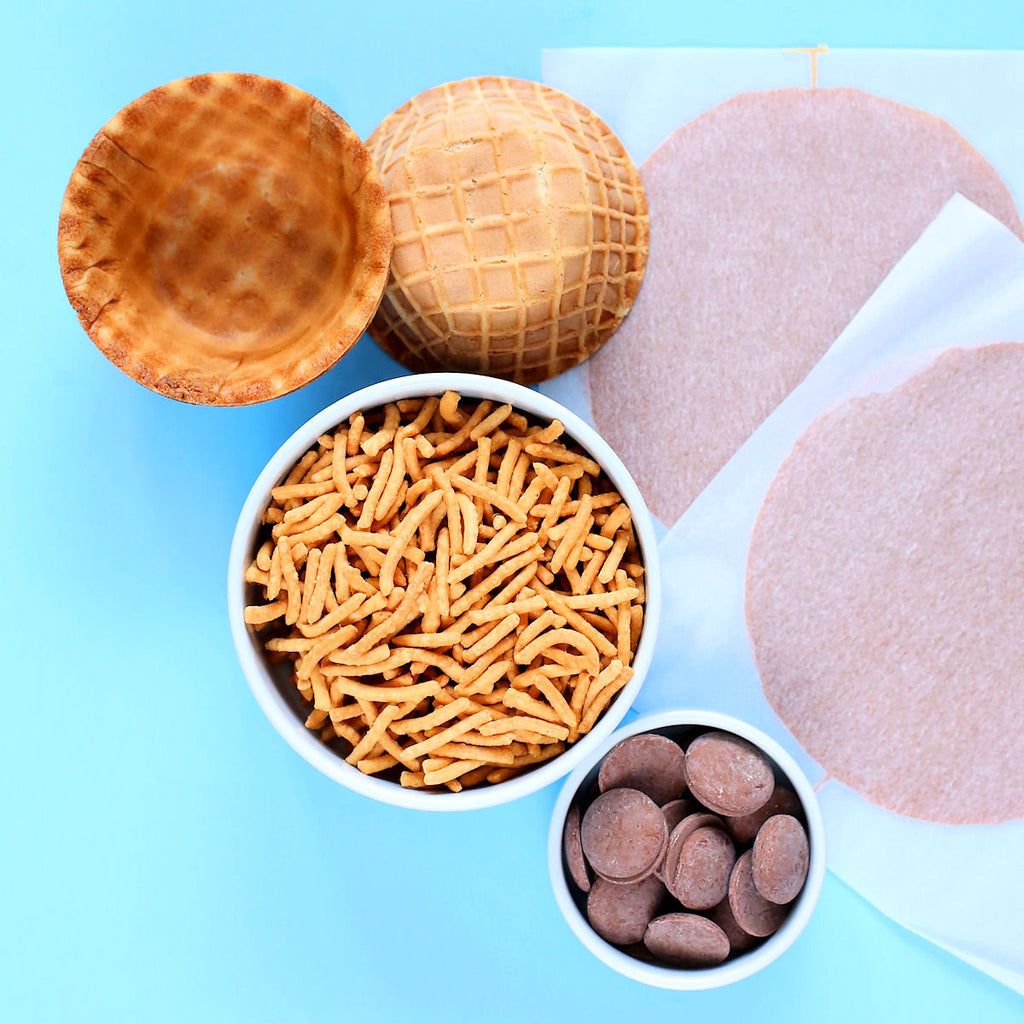
Supplies needed for edible birds nest toppers:
edible ice cream cone bowls
chow mein noodles
milk chocolate almond bark or melts
dark chocolate melts
caramel wraps (often used for making caramel apples)
Note: You will be able to make quite a few toppers with the ingredients from the list. If you are making one topper there will be leftovers that you can use for other projects.
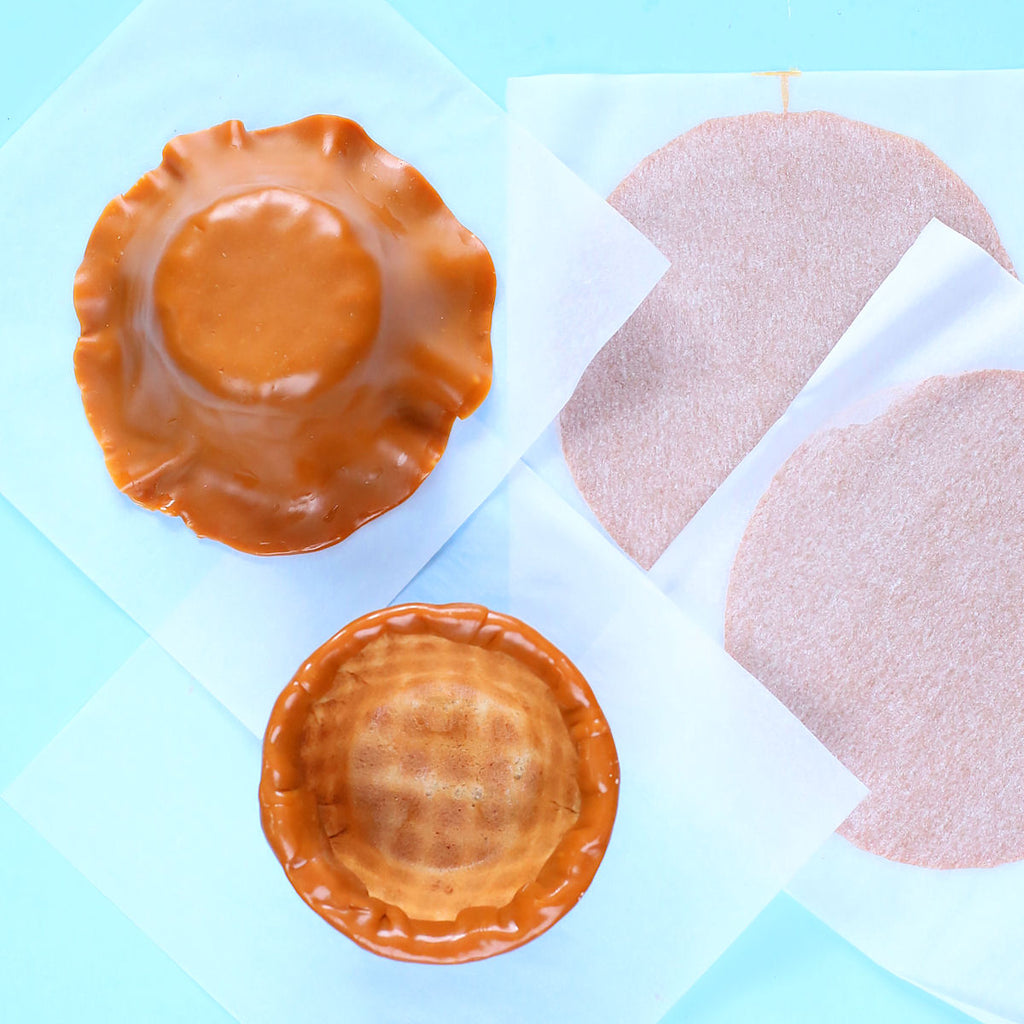
Step 1: The caramel rounds come packaged in between 2 parchment sheets. Leave in the sheets and microwave one round for about 6-7 seconds. You don't want to melt it, just warm it slightly to make it more pliable. If the caramel you get is soft and pliable you might be able to skip this step.
Step 2: Place the ice cream cone bowl up side down on a piece of parchment paper. Remove the caramel round from the parchment sheets in comes in and place over the outside of the ice cream bowl centering as best as you can. You may have to slightly stretch the caramel to get it to cover the complete outside of the bowl. If you have some extra towards the top of the bowl carefully pick up the bowl and fold the caramel over the lip of the bowl. Adding the caramel to the outside of the cone bowl makes it tasty and gives strength to the bowl which is needed so you can add the next layer of the nest.
Step 3: If you are making one birds nest topper melt about one cup of milk chocolate. If you are making more than one It might be easier to do the next couple steps in batches. There is no exact recipe for these. No two will be exactly alike just as a nest in nature! On a parchment lined baking sheet place about 1.5 cups of the chow mein noodles towards one end of the sheet. Pour the melted chocolate over them. With 2 forks mix the to coat the noodles in chocolate. As the noodles are coated you can drag them to the other half of the pan in small clusters so they chocolate can harden. If you poured too much chocolate you can always mix in more noodles.
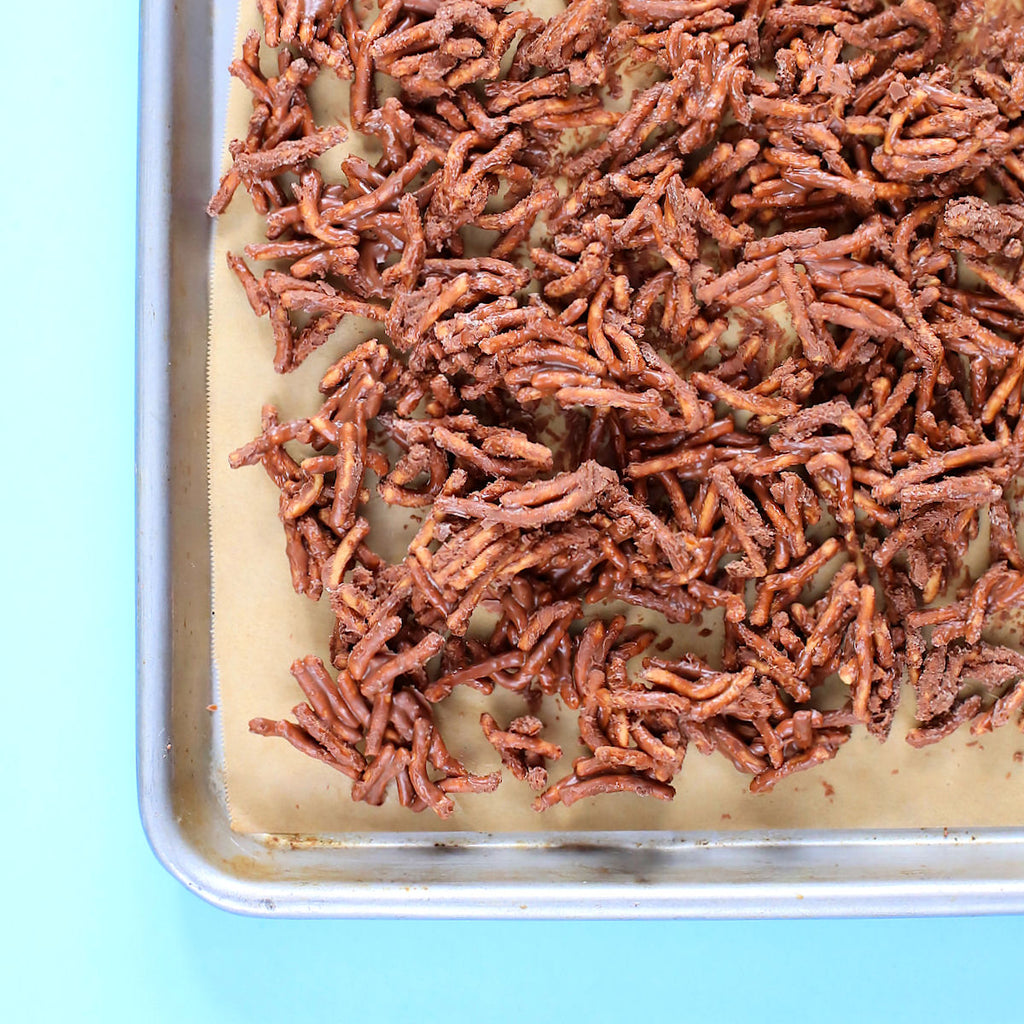
Step 4: Once the chocolate on the chow mein noodles has set you are ready to add them to the outside of the caramel covered ice cream cone bowl. Melt about 1/2 cup of dark chocolate. You want it warm and melted but not super hot. Using a spoon add some chocolate to the caramel working a about a 2" section at a time. Hold the bowl in one hand and begin to add the noodles to the melted chocolate. If the chocolate is warm it should set up quick holding the noodles. Repeat this process to cover the complete side of the bowl. If you have areas that need more noodles tucked in once your cover it you can always add in more noodles to the spots that might need it. Do not add the noddles to the bottom of the bowl. You want to keep that flat so you can place it on a cake easily.
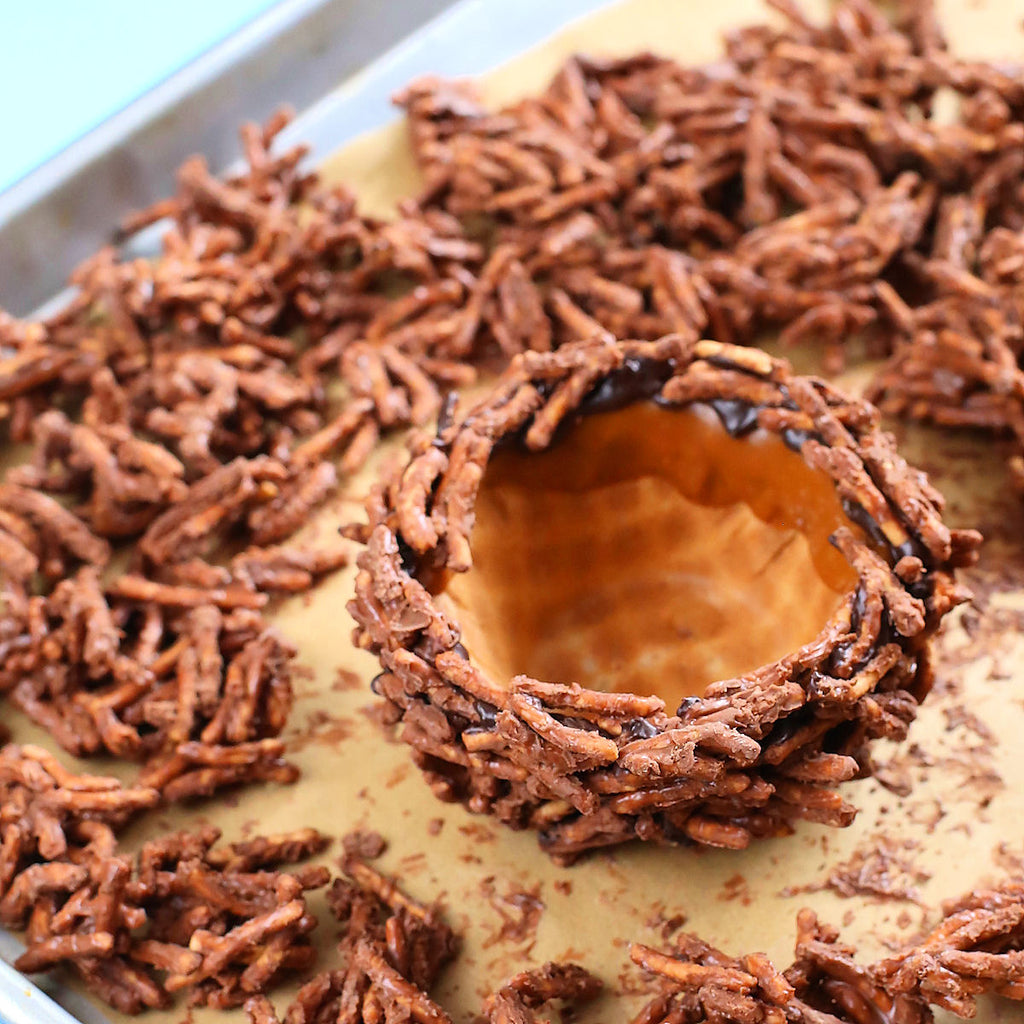
Step 5: Once the outside of the bowl is covered with the chocolate coated noodles and has set repeat the process on the inside of the bowl. After the inside is covered you can add more chocolate coated noodles to the center to build up the height giving you a place to rest candy eggs.
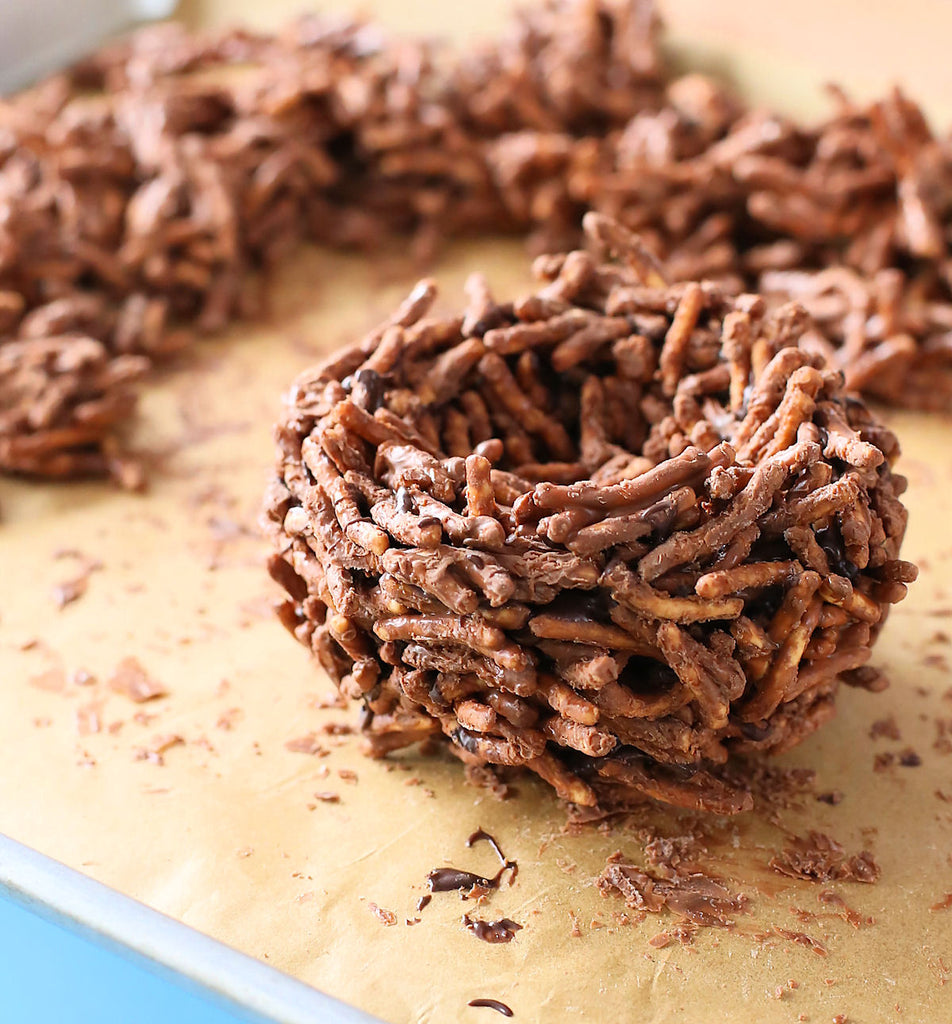
Step 6: Melt a little more dark chocolate or reheat what you may have left from the previous step. Drizzle it on the outside and inside of the birds nest. This helps make the nest look more real as the two color chocolates add some dimension. Once the chocolate is set you can add some candy eggs to complete your edible birds nest cake topper.
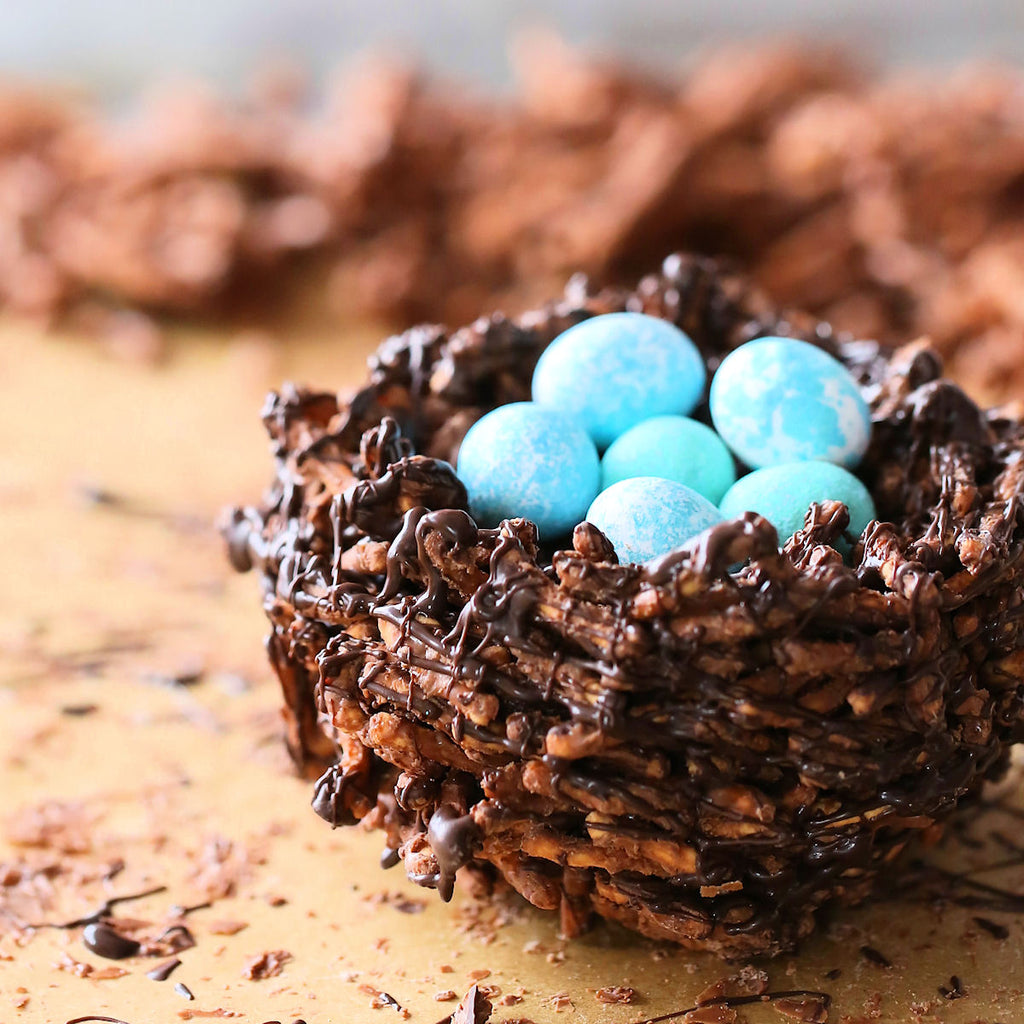
Now that you have a beautiful and realistic edible bird's nest cake topper you can set it on top of a cake or if you make a few of them you can place them on a dessert display too! They are easy to make and only take a few ingredients! We will share how we made the painted speckled eggs that complete the nest soon. Stop by our Instagram page @bakerspartyshop as we might post a little video there on how we made them too!
Happy spring!
Esther & Shauna
PS: If you enjoyed our post please share the love and pin it to save for later!
This post was written, styled and photographed by Esther of The Bakers Party Shop. If you share a photo from our post a link must be displayed back to this post and credit given to The Bakers Party Shop. All photos and content are copyright of The Bakers Party Shop - The Bakers Confections, All rights reserved 2016.
Leave a comment